Showing posts with label ribbon. Show all posts

Thursday, September 6, 2012

Seifert Surface for a link with 3 unknots in beads

Last night I was playing with herringbone beaded ribbon with four beads in each row.  I made three pieces of ribbon attached at one end, and twisted each piece (all with S-twists) before joining them at their other ends.  I colored the three edges orange, blue, and gray using size 8/0 seed beads, and I used black size 11/0 in the interior of the ribbons.   I ended up with this Seifert surface for a link with three components, in which each pair is linked.  I wasn't sure precisely what I was going for, so it was a fun challenge to identify what it was after it was finished.  This piece has two faces and three edges.  It's a little lumpy and crooked, but I was just fiddling around with a new idea, so I'm not going to worry too much about aesthetics.

Tuesday, May 15, 2012

Infinity Ubercube and Other Beaded Cubes

Florence Turnour and I will be teaching two classes on the Infinity Ubercube at the Bead & Button Show 2012.  Lately, I've been working diligently on our kit offerings. The kits each make 11 beaded beads.  This is the complete green kit. (Click on the photos to see them larger).
To make some jewelry, our students will each receive a "Findings Packet" including things like wire, ear wires, crimps, ribbon, etc.  We will not be including larger beads, however, because we want to encourage them to be creative with their beaded beads and make their own jewelry their own.  For example, I added a few extra beads from my own stash including hand made borosilicate glass, a glass button, dichroic glass and a big glossy prehnite.  With these, I made a pair of earrings and a simply strung necklace.

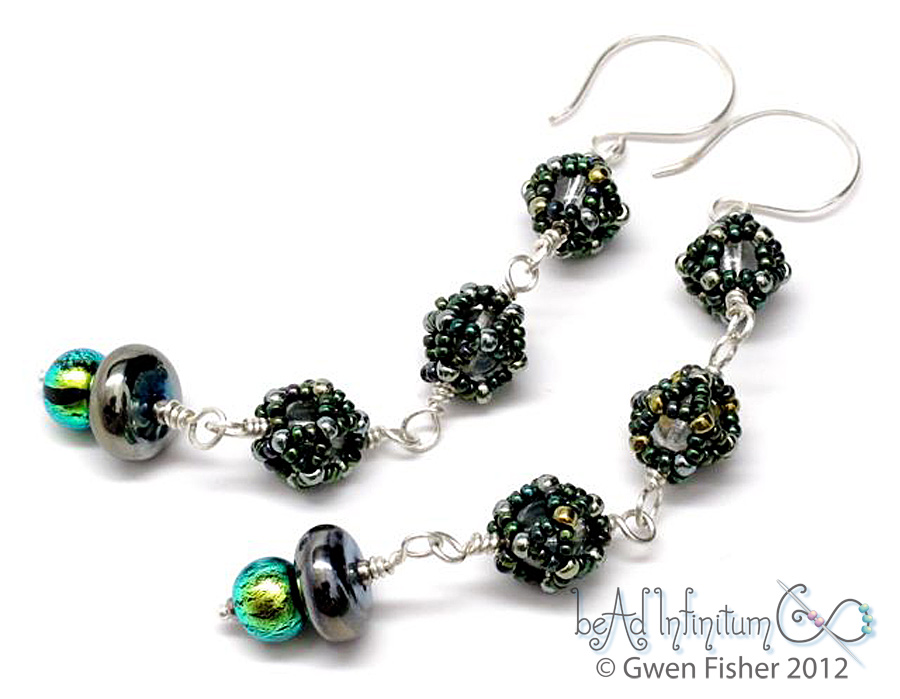
Here is a close-up of the pair of earrings I made with the mini cube beaded beads.

These are the 11 beaded beads in the pink and purple kit,

and this is the necklace I made with the beaded beads. I've had those purple glass roundels for years, and they finally found a home.

Florence designed this kit in juicy fall colors.  Those purple drops just want to be plucked!  

I'm looking forward to seeing what she and all of our students make with their kits. You can now purchase the pattern here: http://www.beadinfinitum.com/Kits/index.html#Ubercube Thanks for looking!

Friday, March 9, 2012

Top Hat No.7 with Ribbon Roses


I just finished a new top hat, this one is a more classic topper shape than my Wonka of Wonderland hats.  I didn't intend to make this a girly hat, but I made a bunch of ribbon roses that I didn't know what to do with, so I put them on the hat.  Here you can see me in it.
Click the photos to go to the listing.  Have a great day.

Wednesday, October 26, 2011

Steamy Ruffled Cuff

I had so much fun making the first one, I decided to do it again. 

Click the photo to see the listing.

Wednesday, October 12, 2011

For the Love of Silk Ribbon and Lace

Last time I was preparing to visit my friend Jennifer to teach at her bead shop, Naturally Jennifer's Gallery and Beads, she asked me if I had any clothing that I wanted to tie dye.  See, Jennifer had something around 30 buckets of dye set up in her garage because she was filling a large order of tie dyed t-shirts for a local music festival.  As luck would have it, I had just won a HUGE lot of silk charmeuse remnants on Ebay.  The fabrics were gorgeous, but some of the colors were a bit boring, like khaki, pale lavender and tan, and this was the perfect opportunity to make them beautiful with some hand dying.  Could Jennifer's dyes work with silk?  Sure they would!

I wanted a mottled look rather than a traditional tie dye, so Jennifer taught me to "artfully wad" my fabrics in large plastic tubs.  With over 30 colors to choose from, I poured maybe six different, related colors of dye into each tub.  Here is a photo of one little corner of the purple piece.   Pretty, isn't it?
These dyed silks have been sitting in my closet since Spring, patiently waiting for me to figure out how to use them.  Last night, I was browsing hand dyed silk ribbons on Etsy, and I saw that a few different vendors were selling ribbon with serged edges.  I realized that I could make ribbon by CUTTING strips of of silk from selvage to selvage, and then SERGE a rolled hem on both edges.  OMG!  I CAN MAKE SILK RIBBON AS WIDE AS I WANT!  See, if you've ever shopped for wide silk ribbon, you know it costs a small fortune, often around half the price you'd pay for 45" wide fabric.  Silk ribbon is a real luxury item, especially the wide, hand-dyed stuff, and as a consequence, I don't own any wide silk ribbon... until last night!
On my first try, I made a gorgeous yard of silk ribbon in purple and burgundy with black serger thread.  At nearly an inch, it's significantly wider than the narrow ribbons I own, and the fabric is a bit thicker as well.   Once the machine was set up and the strip was cut, sewing it was pretty quick and easy.  It's a little under an inch wide, over a yard long and I tapered both ends to a point.  I strung some beaded beads on it, but didn't love the way they hung because they weren't heavy enough to weigh down the ribbon,  So, I ruffled the ribbon by sewing a zig zag like in my Doceri drawing below.

I rolled up my silky ruffle to make flowers, folding and twisting it, this way and that.   I made some wiggly lines with it.  I sat at my cutting mat, rather mesmerized by this little ruffle, all soft and squishy with undulating colors that shimmer in the light like only silk charmeuse can do.  I became inspired:  I dug through my bags of lace, cut some pieces, and arranged them under my ruffle.  I tried some ribbon flowers.  Deciding a cuff would be a good project, I found a scrap of black rayon jersey fabric leftover from the lining of my new mini dresses, and I cut a rectangle about 8 inches wide.  Starting with the bottom layers of lace,  I sewed my appliques to the jersey, layer by layer.  I started with hand sewing, and switched to my machine where I could.  After all of the lace and ribbon was attached, I sewed on a few pressed glass flower beads.  Then, like making up a pillow, I attached a lining made from some purple cotton corduroy.  The corduroy lining makes the back soft, adds a little warmth, and hides all of the stitches and thread ends.   I left open a side seam to add elastic button loops, pinned the loops in place and finished the last bit by machine, which you can see running vertically below in black thread.  I finished it by attaching the buttons, sewing through all of the layers for stability.
As I sewed, I just kept thinking about how super girly girl this cuff is.  It's purple and rosy, with flowers, ruffles, and lace.  It's beyond girly.  It's not my normal style for sure.  I've heard people call it a "romantic" style.  My boyfriend called it "too much," but the girly girl in me really likes this kind of explosive overabundance of ribbon and lace.  A little part of me wants to be dressed head to toe like this, maybe just for a little while.  Yes, this style is a bit out of my normal aesthetic, but I like that it all started with a piece of beautiful purple, hand-dyed wide silk ribbon.  Yeah for Etsy.  Yeah for silk ribbon.  Yeah for inspiration.  
Click on the photos for more photos and information about purchasing this cuff.

Tuesday, June 21, 2011

How to Make an Easy Tutu without Sewing Part 2

Last time I presented part 1 of making an easy no-sew tutuThis is the second half.  


Next I added strips of tulle from the 6 inch wide roles.  My strips were about 2 feet long for the blue.  I added them with the same kind of knots I described in part 1.  Then, I added 1.5 foot strips of white tulle.  In each case, I equally distributed the strips around the waist.
Notice how my strips keep getting shorter on each round.  The layering creates a nice rounded skirt shape.  At this point, I decided I didn't like the look of the blunt ends.  So I cut the corners into points like in my Doceri drawing.
This photo shows most, but not all, of the blunts ends cut off.  I definitely prefer the look of the pointy ends.
Next I cut strips of ribbons.  For the ribbons, I cut off corners or I folded the ends to cut notches in the ends of the ribbons. Here is my Doceri drawing showing my method for cutting notches.

I knotted strips of the various ribbons to the grosgrain waistband, just as I'd done with the strips of fabric.  The thinner the ribbons, the longer I cut them.  I pulled the ribbons down into the skirt so that they would hang from the inside.  Here is the finished tutu and headpiece.
Here is the bridal nymph in her natural habitat.  Isn't she beautiful!  This was Day 1 of our bridal shower weekend.
On Day 2, the bridal nymph ditched the silly headpiece I made her in favor of sunglasses, but still wore the tutu on our daylong hike.   
Yes, tutus are suitable for hiking, as long as there's no serious rock climbing.  The netting might catch a few bugs, however.  Fortunately, this is a pretty bug-friendly group of nymphs.

Sunday, June 19, 2011

How to Make an Easy Tutu without Sewing Part 1

A good friend of mine is getting married next month, and we decided to throw her a bachellorette party.  In celebration of her love and life, and with an excuse to single her out in a foofy fairy princess costume, I made her a tutu and matching veil.  Here's how I made the tutu.

Step 1: Buy a boatload of tulle and organza ribbon and fabric in a variety of blues, aquas, and white.   I got two cuts of fabric from the bolt: 1 yard and 1.5 yards of brighter blues to add color.  I also included 5/8" grosgrain ribbon for the waistband.  Grosgrain is stronger than other types of ribbon and will hold up better to repeated tying and untying. Lastly, I also bought a fabric covered hairband for the headpiece/veil.  I spent $29.90 on everything.  I went a little nuts. I could have bought about a third less to make this work, but I wanted the large combination of colors.
Step 2: Cut a piece of grosgrain long enough to fit around you waist (or lower) plus enough extra for a generous bow.  I used 8 feed 3 inches.
Step 3: Cut fabric into strips.  My fabric pieces were 1 yard and 1.5 yard cuts, but I never measured the bolt width.  To cut the fabric, I held up each large rectangle to determine which side was shorter, and cut them like I show in this Doceri drawing. 
My strips measured about 2.5 feet by 0.5 feet, but I didn't worry about them all being exactly the same size as I cut the fabric.  I used light blue organza and dark blue tulle.  I cut the strips a few at a time as I added them to the waistband, and I decided to save some for the headpiece and maybe other projects later.

Step 4: With strips in hand, I was ready to tie knots.  First, fold a strip in half to make a loop.  Slip the loop under the grosgrain waistband from the top side.  Always push the loop under from the top or the knot will be upside down.
Pull ends through loop.
I pulled tighter, but not too tight.
I decided to tighten later when I knew what I was doing, but I eventually learned that you could tighten the knots pretty tight at this point.  They will still slide easily along the grosgrain, which is mostly what I was worried about.

After tying a few knots, I decided that small tidy knots would be a good thing so as not to have too much puffiness around the waist.  So, I improved my technique for making smaller knots by twisting the organza a bit before folding it in half for the loop.  Just a few twists right where the knot will be makes for a smaller knot.  See how the left knot is smaller than the puffy one on the right.
 I added more than a dozen strips of organza around the grosgrain.  The "scarf" is my leftovers.
I learned that the puff was only a problem with the organza fabric.  The tulle didn't really require the extra twist to make small, tidy knots. In the photo below, you can see the darker tulle knot between the organza knots.  Notice the second layer is a bit shorter than the first.
Also notice how poorly the shirt matches the tutu.  Egads.  Click ahead for part 2: the exciting conclusion of "How to Make an Easy Tutu without Sewing."  Not only do I show you how cute the finished tutu and headpiece looked on the beautiful bachellorette, I will find a better shirt to go on the dress form.
Related Posts Plugin for WordPress, Blogger...