Wednesday, December 30, 2020

Color Wheels in Watercolor Paint

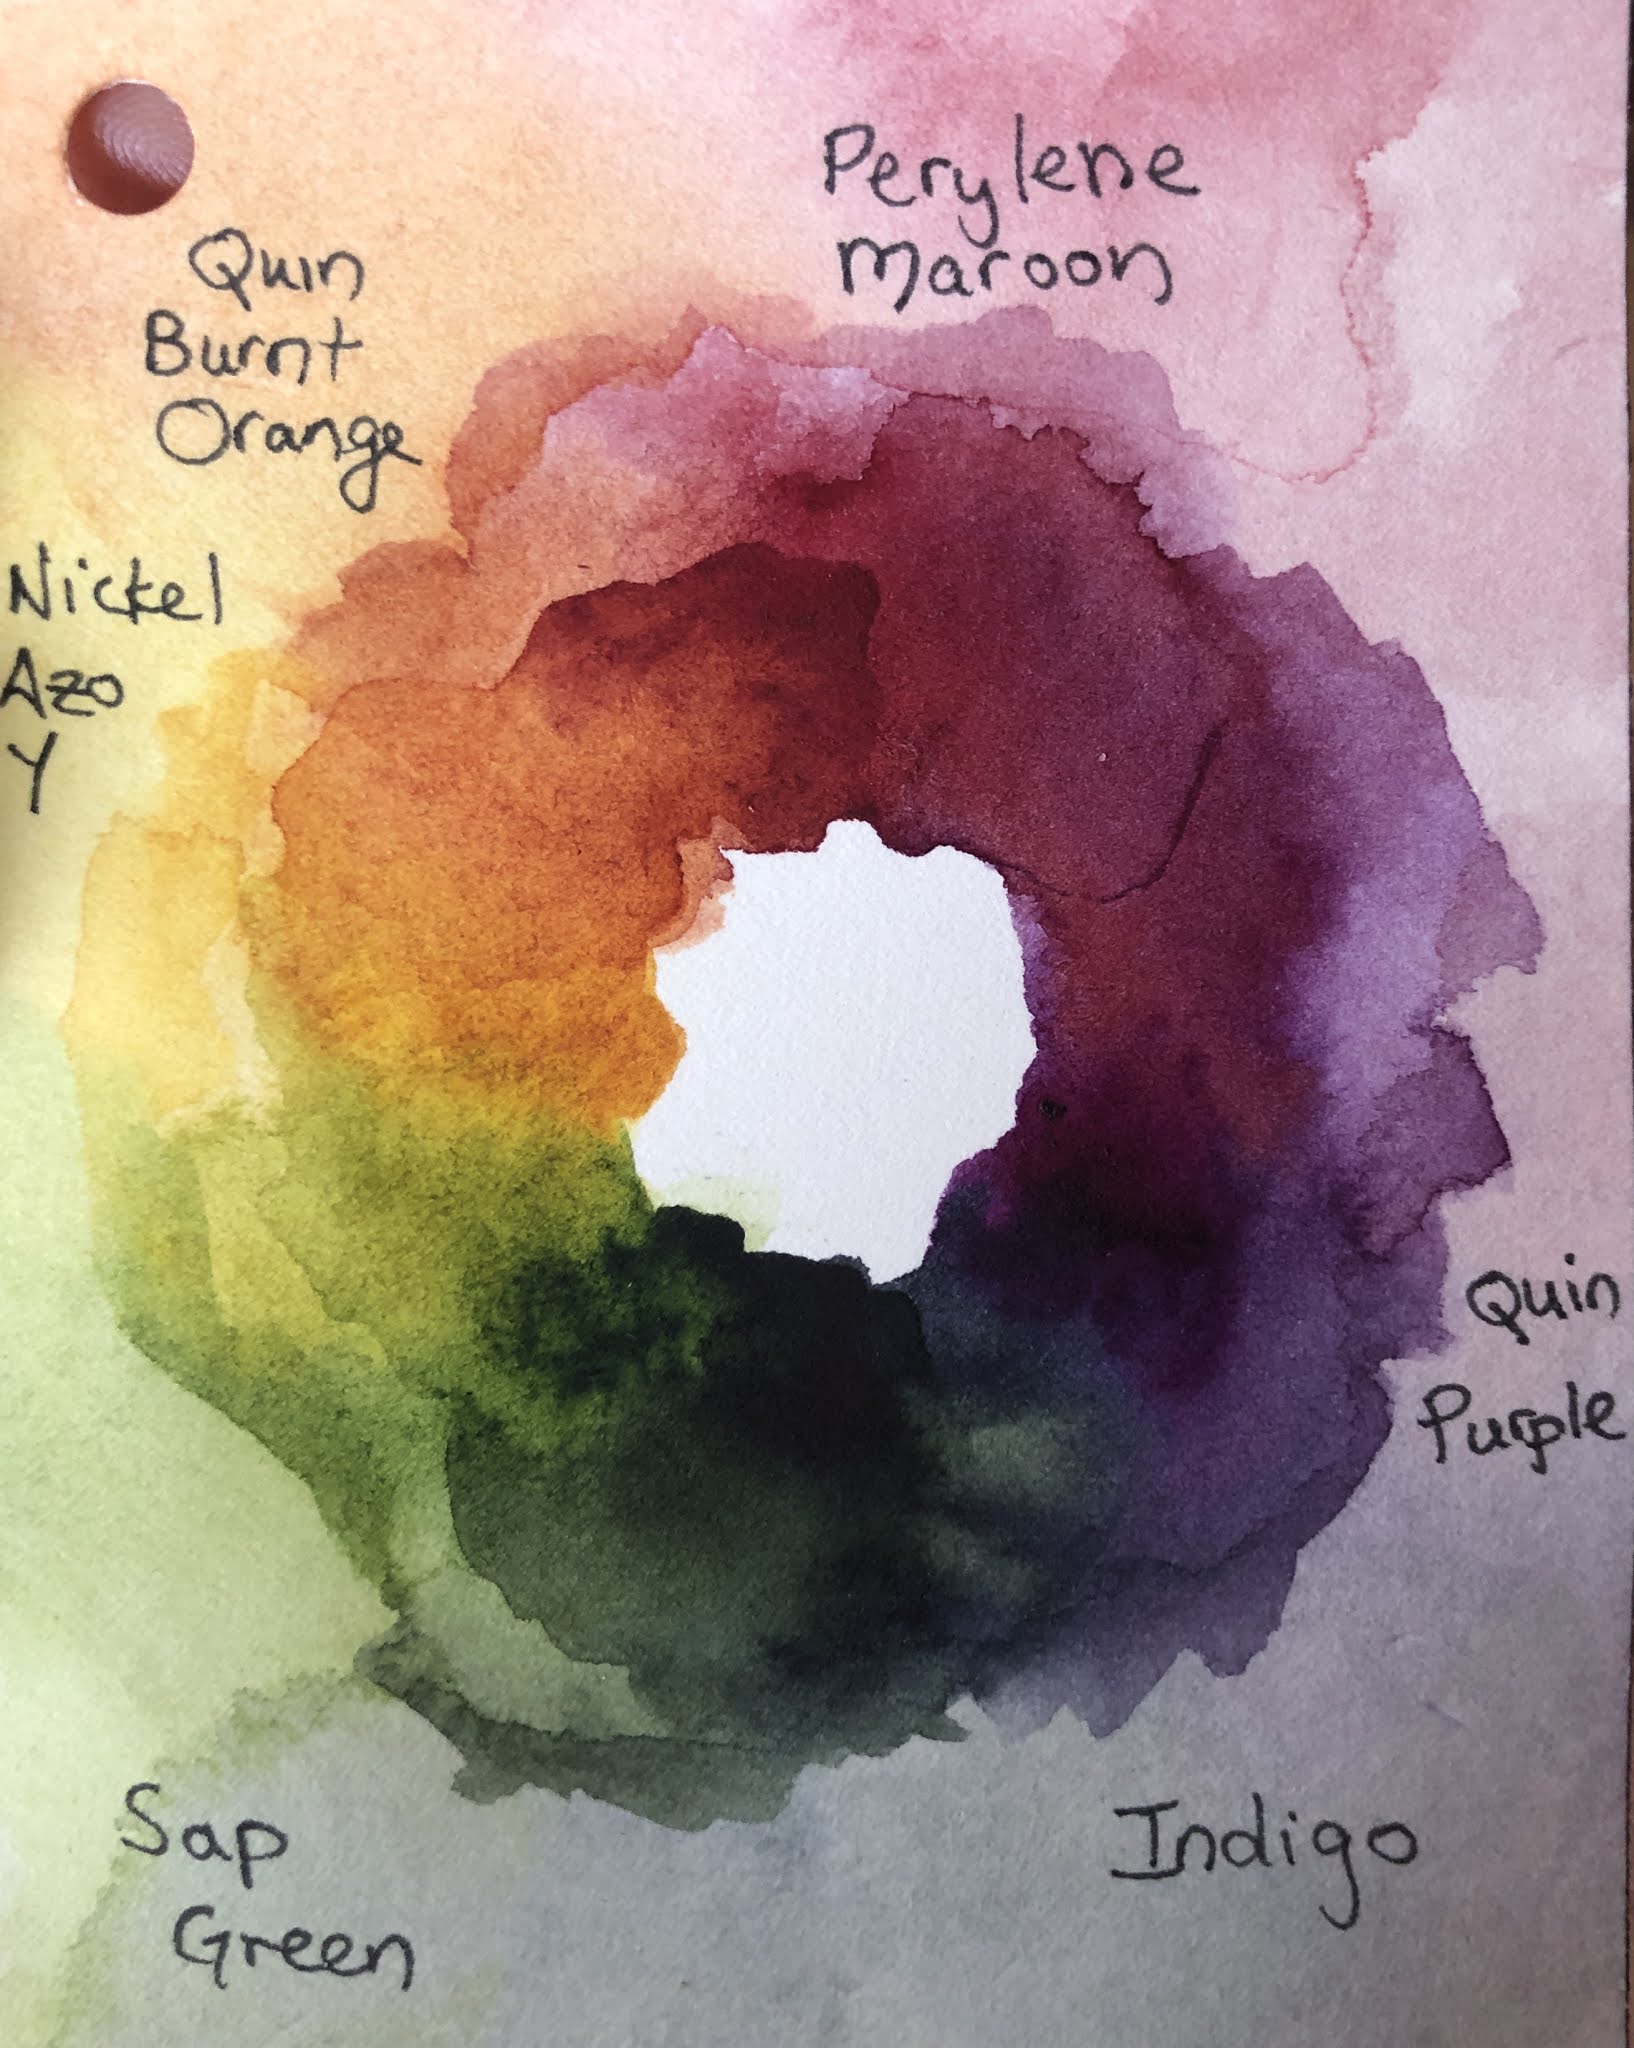
My favorite art to make lately has been painting color wheels with watercolor paint.  This probably my favorite one so far. It is a color study of five pigments.

Sometimes I include color wheels into larger compositions.


Sometimes I paint little color wheels to test out colors or an idea for future reference. I made this color wheel to test out a very red heavy color wheel.  It uses both black and red ink. 


I used that color wheel to paint this piece.

I'm making myself a little book of color swatches, including a few color wheel, such as this one.  

I used that one to help me paint this piece.

Some of my color wheels use a combination of traditional watercolor paint and mica paint, which looks metallic and flashes in the light. See the rainbow flash?


This color uses two reds, two yellows, and two blues, mixed in pairs.

Same with this one. Plus a cat.

This color wheel also uses two yellows, two reds, and two blue, plus I used colored pencil on top to add the shading.


Thanks for looking at my color wheels. If you would like to purchase one of my original paintings, with or without color wheels, have a look in my Etsy shop, gwenbeads, under the section on 2D art


Wednesday, January 29, 2020

Seahorse Shirt Hand Stitched in Cotton Jersey

I enlarged one of Marty Kenney’s doodles of a seahorse to make a stencil and then hand stitched this appliqué. This became the sleeve of a cotton t-shirt.
I had originally embroidered the seahorse to a front panel. No matter how I looked at it, the placement was unflattering. So the piece sat unfinished for eight months until I decided to move the embroidery to the sleeve. That’s why it has extra seams.

I designed the rest of the shirt to go with the seahorse. I wanted the seahorse to be the focus, the most detailed part, with the rest of the shirt simple, but not plain. After much thought and deliberation, I decided to add a trim to the rest of the t-shirt. Here you can seek all of the trim on the front, back, and second sleeve. A little appliqué like this is not only decorative, but also serves a purpose. It keeps the edge from rolling too much. I learned these sewing techniques from the books of Alabama Chanin.


Stitch, stitch, stitch...


Next I assembled the pieces. The finish on the neckline is my own invention. Learn to sew the neckline here: https://gwenbeads.blogspot.com/2019/12/t-shirt-with-stretchy-noodle-binding-on.html


Since there’s no tag, I like stitching a little doodad at the top back. That way, when I pick it up, it’s easy to tell which side is the front..


Here’s the doodad.
 

Notice the parallel whip stitch where the sleeve connects to the bodice. I use whip stitch for the sewing and top stitching on that seam to make it stretchy. It’s a lot more comfortable for me when it’s stretchy there.

3/4 sleeve. Long enough to cover most of my butt. Deep neckline.
 I’m going to get a lot of wear out of this come spring. 

Thanks for looking!


Related Posts Plugin for WordPress, Blogger...