Showing posts with label weave. Show all posts

Saturday, February 20, 2016

Mom's Great Yarn Destash Sale

My Mom is moving soon, and I'm am helping her sell off her yarn collection. I'm putting it all on one section of my Etsy shop at super bargain prices.
https://www.etsy.com/shop/gwenbeads?section_id=18420774
Our spare bed is literally covered with balls of yarn from my mother's yarn collection of a lifetime. Two nights ago, I laid out the whole collection so I could see it all at once. (Just the good stuff. We gave away a trash bag's worth of the other stuff.)
https://www.etsy.com/shop/gwenbeads?section_id=18420774
Then I arranged all the balls into a big blend of color over the whole bed, which I separated into colorful piles that look nice together. 
https://www.etsy.com/shop/gwenbeads?section_id=18420774
As I rearranged the balls and assembled the piles, I imagined knitting each group into a hat or scarf, or maybe using them to make fancy trims on collars and sleeves of sweaters. I used up a whole box of ziplock baggies. I need to buy more baggies. 
https://www.etsy.com/shop/gwenbeads?section_id=18420774
If you knit, crochet or weave or you just like to spin webs, or you ever wanted to learn how, here's a great chance for you to get some gorgeous yarns for a steal. This is the good stuff, and THIS YARN IS PRICED TO SELL: More than 50% OFF what she paid for it! In many case, the price is close to 1/4 or 1/3 of retail.  I also lowered the price on some of the earlier lots from a couple weeks ago. The photos here are just a small sample. Also, keep checking back because I'm not done listing it all! Nope. Not yet. I still have over a dozen lots to list, including some really good ones too!
https://www.etsy.com/shop/gwenbeads?section_id=18420774
 Thanks for looking.

Tuesday, December 8, 2015

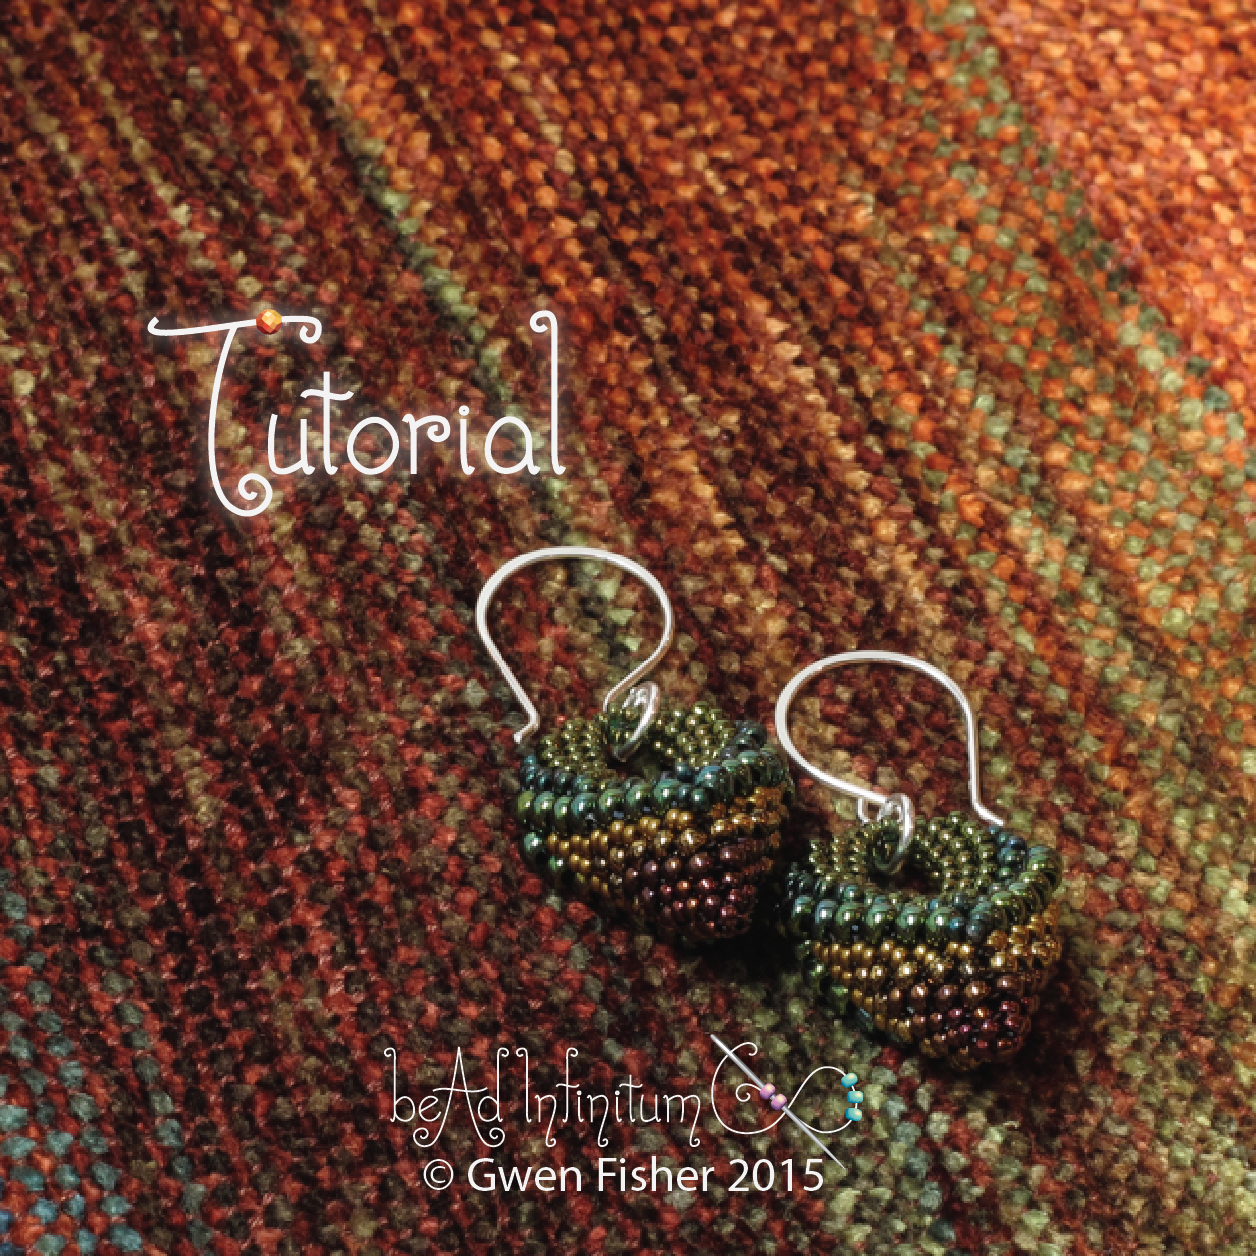
Victory Pod Earrings on a Hetty Friedman Scarf

I recently purchased a scarf made by Hetty Friedman. It's made of hand dyed, handwoven rayon chenille. The colors scream AUTUMN, and I fell in love with it from the moment I first saw it in Hetty's Etsy shop. The colors in this scarf include teal, jade, curry, blue, orange, and brown. When I saw Hetty's photos, all I could think is, "Could the colors of that scarf really be that pretty!? I must have that scarf!" And so they were!!!
As I do, I made a pair of earrings just before I bought the scarf, and as accidents will happen, the scarf matches the earrings perfectly. Since I just happened to be writing a tutorial for how to make this pair of earrings, I photographed the earrings on the scarf. Tada!
I fell in love the colors in these photos. So I wrote to Hetty, and she kindly gave me permission to share these photos with you. Thank you Hetty!
I couldn't stop taking photos of the earrings on the scarf, just for the sake of eye candy. Photos like these make me unreasonably happy.
This cat video also make me unreasonably happy.

If you want, you can learn to make Victory Pod Earrings with my new tutorial, but you'll have to find Hetty if you want a new scarf.
Thanks for looking. Have a great holiday. Spread some love. Be nice to each other.

Tuesday, December 1, 2015

New Tutorial - Victory Pod Earrings Beaded with Cellini Peyote Stitch

I just released a new beading tutorial, Victory Pod Earrings so you can make earrings with this original variation on beaded Cellini spiral, combining peyote and herringbone stitches. 

These earrings are stylized, dangling drops with an elegant symmetry, like a puffy V in 3D. The beadwork is stitched with just 3 sizes of regular Japanese seed beads. No fancy shapes required! So if you are a bead weaver, you probably already have everything you need. Using just a pinch of each color, these pods are a great way to use up seed beads leftover from other beading projects.
Beaded Cellini Spiral Earrings Peyote Stitch
This project is suitable for intermediate bead weavers who like peyote stitch.

With ear wires the earrings measure 46 mm long.
Beaded pod measures 27 mm x 21 mm x 12 mm.

Victory Pod Cellini Earrings
The tutorial is 11 pages, with over 50 full color illustrations and photographs, a colorful feast for the eyes. The tutorial gives highly detailed illustrations, photographs, and written instructions to make the earrings.
Cellini Spiral Beaded Earrings
These earrings are designed to match the Cellini Flowers and Leaves.  Here you can see a pair of Victory Pod Earrings colored to coordinate with a Large Cellini Flower for a matching pendant and earring set.
 Cellini Flower and Earrings beaded with peyote stitch
That's all for today.  Thanks for looking!

Friday, January 24, 2014

TUTORIAL- Celtic Knots Part 2: Rings Rosettes and Beaded Beads

This is my second tutorial on Celtic knot.  The last tutorial showed earrings made from rectangular knots, whereas this new tutorial will teach you to braid the pieces of beadwork into circular knots.
Circular Celtic Knot Pattern with Bead Weaving
These knots are quite flexible. You can turn them inside out. They can be worn as finger rings, of flatten them to make rosettes for pendants or earrings. You can also add extra stitching to turn these knots into sophisticated beaded beads with large holes. This pattern is suitable for beginning bead weaver, with enough design possibilities to entertain advanced bead weavers. I provide specific counts for four different knots, and explain the general concept so you can bead the whole set of braided circular knots, any size you want!


Circular Knots
The tutorial is 17 pages, with over 60 full color illustrations and photographs.  Click the photos to go to the listing.  Thanks for looking.

Wednesday, April 27, 2011

Video on Knot Doodles

Just for fun, I doodled some knots and made a video.

Actually, this video started as a lesson on counting strands in a rectangular Celtic knot, but I got distracted by the colors, and my lesson turned into a doodle.  It happens.
So here is what I MEANT to say in the video before I wandered off into swirly knot land.  The first knot I drew, called an "unknot," is a 1 by 1 square knot with 1 component (strand).  The second one is 2 units wide by 2 units high and it has 2 components.  The third is 3 by 3 with 3 components, and the fourth is 4 by 4 with 4 components.  So, you might have noticed a pattern here.  If you have a square knot of this sort, and it is p units wide by p units high, it will have p components. 

The next one I drew was rectangular, 2 by 5, and it has 1 component.  There's a theorem that says
that the number of components in a p by q knotwork panel is given by the greatest common divisor gcd(p, q).  So applying this to the rectangular knot, gcd (2, 5) is 1, and the theorem works.  If we apply this to square knots, when the panel is square, we get p = q and the gcd(p, p) = p.

Then I got bored with my lesson so I started doodling.  Sorry, but I don't know any good math to go with the rest of the doodles. 

I made this video with Doceri and lots of coffee.  Too much coffee.

Tuesday, June 30, 2009

Supercoil Basketweave Hat

If you remember from earlier, I made a big 4 ounce ball of supercoil yarn with my Artemis Artemis batts (in Verdigris and Copper Beech colorways) and bits and pieces of other yarns from my mom's stash of remnants. I decided to weave my superoil yarn into a hat using a basket weave. I've never seen anybody do this with supercoils before, so it's a great surprise to see how it unfolds as I sew.


I first needed to spin a skinny single to use as my weft, the part I thread through my needle and weave in and out of the supecoils. That's the little plain skein here. So far, I've finished the top of the hat by starting in the center and spiraling my way out. I made the top the same circumference as my head. After completing the top, I turned a corner to work down the sides and ran out of my weft yarn. I can see that I won't have enough supercoil yarn for a brim. So, I'm going to need to spin the other 4 ounces of wool batts I have to finish the brim. That's next, so stay tuned. What I learned: I like the look of this weave best when the weft is very thin and sinks into the supercoils. That effect is not really what I'm achieving with this weave, but I still like it alright. Also, it's hard to make my stitches look even, but I don't think that I stood much of a chance considering how irregular the supercoil yarn is.

And now for the artsy texture shots...

Related Posts Plugin for WordPress, Blogger...